Got renovation debris piling up but no truck to haul it away? Don’t sweat it - you’ve got options that don’t require renting a truck or breaking your back. Whether it’s leftover drywall, old appliances, or chunks of concrete, managing renovation waste is easier than you think.
Here’s the quick fix: Services like WasteMatch connect you with local pros who’ll handle everything from pickup to proper disposal. Prefer a DIY approach? Dumpster rentals or recycling centers can help you stay on budget and on schedule.
What you’ll learn here:
- How to estimate your debris volume and disposal needs
- Why junk removal services or dumpsters might save you time and effort
- Tips for recycling or donating materials instead of trashing them
Managing renovation waste doesn’t have to be a hassle. Let’s make cleanup simple and stress-free.
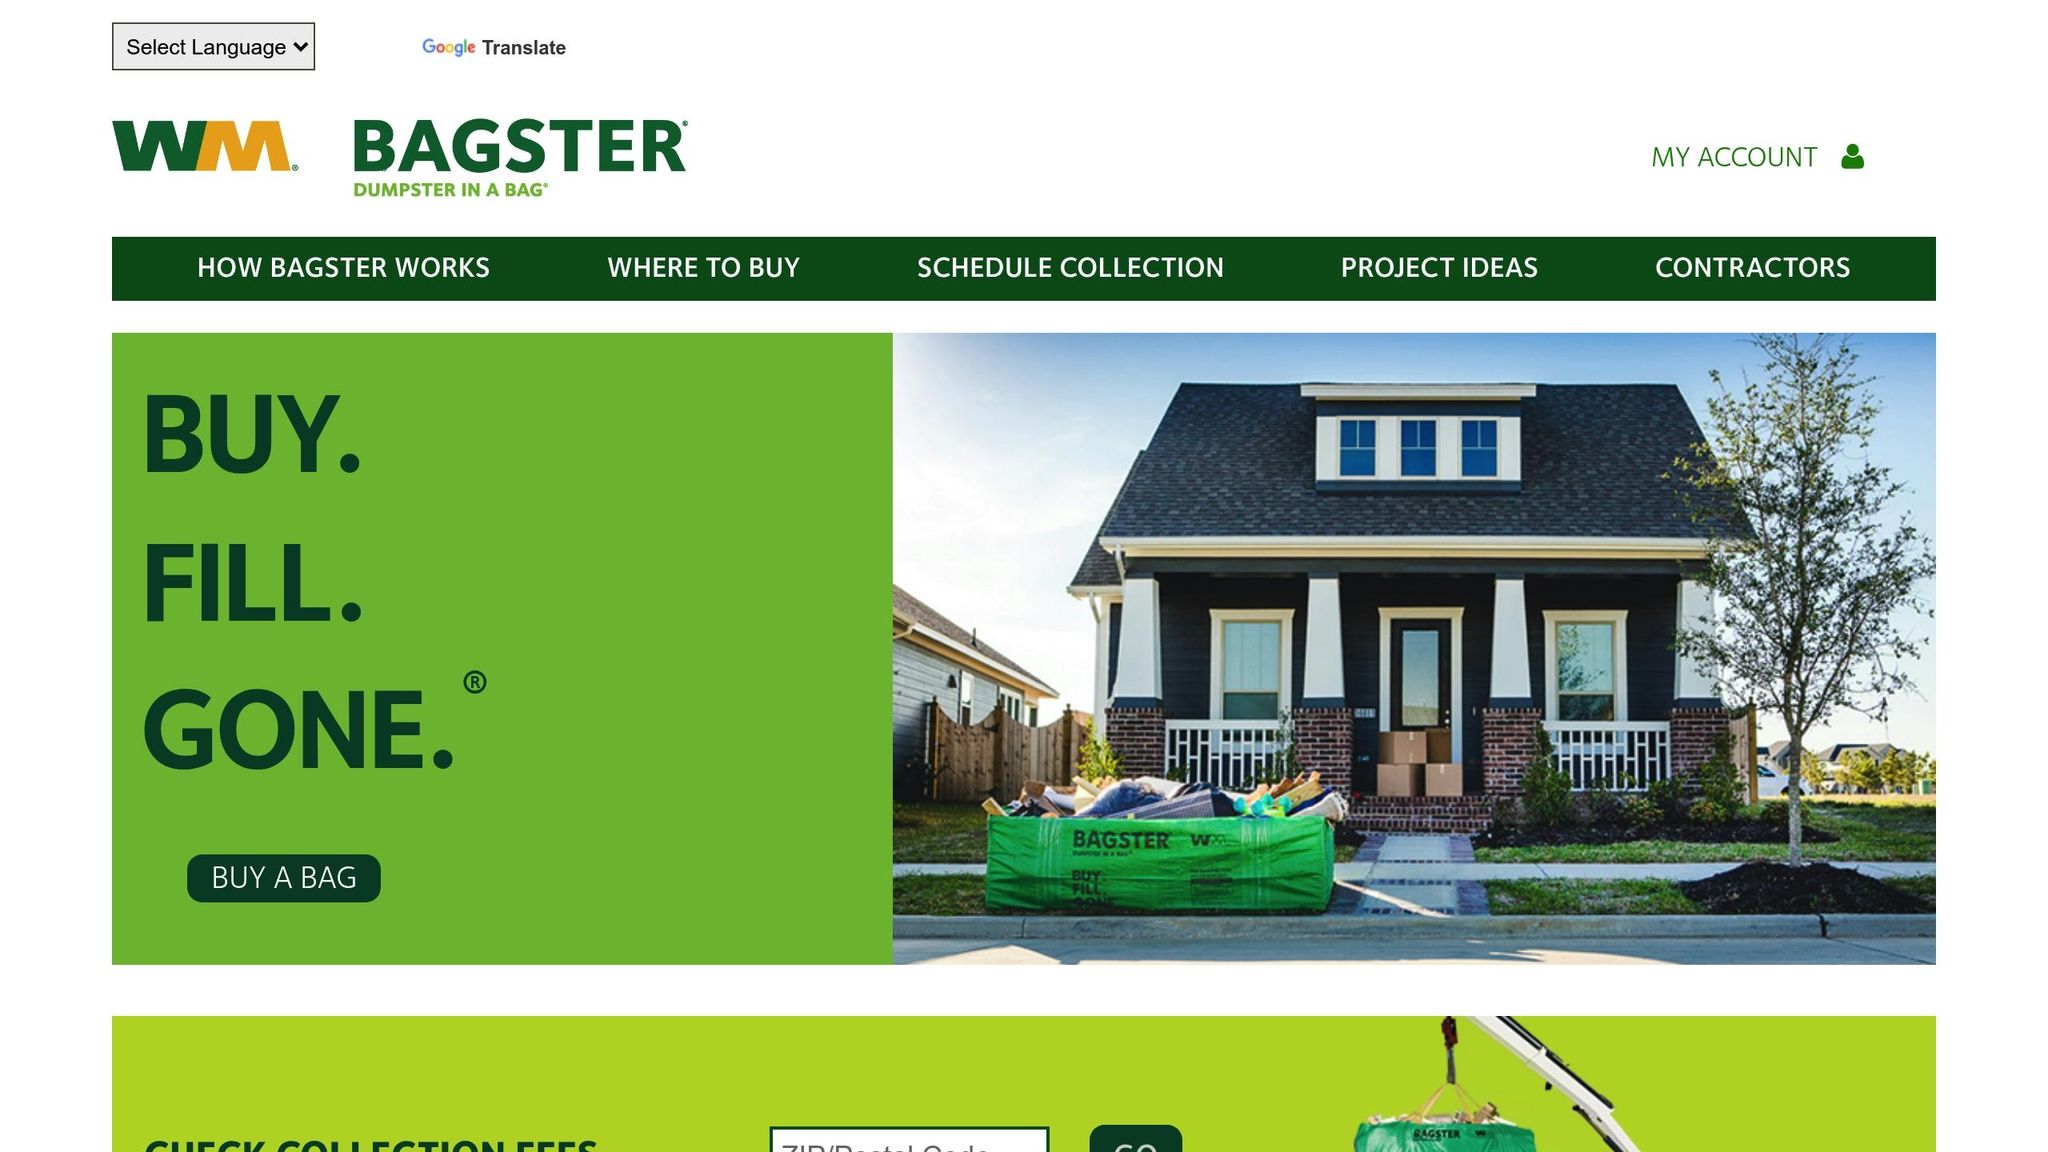
How to Get Rid of Construction Debris - Bagster

Step 1: Assess Your Renovation Debris and Disposal Requirements
Before choosing how to dispose of your renovation debris, it’s important to understand what you’re dealing with. Taking the time to evaluate your waste helps you save money, avoid delays, and stay compliant with local regulations. This involves estimating how much waste your project will generate and identifying the types of materials you’ll need to dispose of.
Calculate Debris Volume and Material Types
Start by walking through your renovation area and making a list of everything that needs to go. Different materials often have specific disposal requirements, and some items may need special handling due to local rules or safety concerns.
Common types of renovation debris include:
- Drywall and plaster: These materials are heavy and dusty but are usually accepted at most disposal facilities.
- Wood and lumber: Untreated wood can often be recycled, while treated wood might have restrictions on how it’s disposed of.
- Flooring materials: Carpet, hardwood, tile, and vinyl each require different disposal methods.
- Metal fixtures: Items like copper pipes, steel beams, and aluminum siding often have recyclable value.
- Appliances: Refrigerators, water heaters, and HVAC units may contain refrigerants that need specialized handling.
- Concrete and masonry: These are some of the heaviest materials and often require specific disposal solutions.
To estimate the volume of your debris, measure large items and count smaller ones. For reference, a standard pickup truck bed holds about 2–3 cubic yards. A small bathroom renovation typically produces 3–5 cubic yards of waste, a kitchen project generates around 10–15 cubic yards, and a full-house renovation can produce 30 or more cubic yards.
Additionally, be mindful of hazardous materials like lead paint, asbestos, or chemicals such as solvents. Homes built before 1978 may contain lead paint or asbestos, which require certified professionals for safe removal. These materials cannot go into regular dumpsters and must be taken to specialized facilities. Similarly, products like paint, solvents, and other chemicals need to be disposed of at hazardous waste centers.
Review Local Disposal Rules
Once you’ve identified the volume and type of debris, check your local regulations to determine the best disposal method. Municipalities often have specific rules for construction debris, and understanding these guidelines can help you avoid fines or having your waste rejected. Start by visiting your city or county website for information on bulk waste disposal.
Key regulations to investigate include:
- Many cities place limits on the amount of construction debris that can be included in regular bulk pickups. For instance, some municipalities cap bulk waste at 2–3 cubic yards per month and exclude materials like concrete or old appliances. Others may require advance scheduling or charge extra fees for construction-related waste.
- Recycling requirements are becoming more common across the U.S. Some areas now mandate that a percentage of construction debris be recycled instead of sent to landfills. For example, California has strict rules on diverting construction waste, and similar policies are being adopted in other states. Check whether your area has recycling mandates for materials like metal, wood, or concrete.
- If you’re considering private disposal options, such as hiring a junk removal service or renting a dumpster, ensure the company is licensed and insured in your area. Reputable services will handle permits and ensure compliance with local rules, but it’s always a good idea to confirm these details upfront.
Step 2: Hire Junk Removal Services for Easy Cleanup
After evaluating your renovation debris and understanding local disposal rules, turning to professional junk removal services can save you the hassle of handling it yourself. These services take care of everything - from scheduling to disposal. A team shows up at your property, sorts through the debris, and hauls it away in their own vehicles. This is especially helpful for mixed debris that requires different disposal methods.
Why Choose WasteMatch?

WasteMatch makes clearing out renovation debris a breeze. By connecting you with verified professionals across the country, the platform provides quotes in just minutes and manages all the details for you. No more endless searches for reliable haulers - WasteMatch pre-screens all service providers to meet its strict standards. You can even snap a quick photo of your debris, upload it, and get pricing without spending time on hold or juggling calls.
For contractors and renovation crews, WasteMatch is a game-changer. It keeps job sites tidy and allows teams to move on to the next project without unnecessary delays. This is especially helpful during multi-phase renovations, where debris can pile up at different stages. By simplifying the process, WasteMatch reduces logistical headaches and sets you up for smoother debris management throughout your project.
Benefits of Hiring Professional Junk Removal Services
Professional junk removal services handle the heavy lifting - literally. They sort, load, and dispose of your debris, often with same- or next-day appointments. This quick turnaround prevents delays and keeps your project on track.
Costs for these services typically range from $100 to $800. While that may seem like a wide range, the pricing is transparent, so you’ll know the full cost upfront without surprise fees. Plus, you save on truck rentals, supplies, and landfill charges, making it a cost-effective solution.
Safety is another major perk. Trained crews with the right equipment handle heavy items like old cabinets, drywall, or broken tiles, reducing the risks that come with DIY removal.
There's also an eco-friendly angle. Over 70% of items collected by professional junk removal companies are recycled or donated, keeping them out of landfills. Licensed professionals follow proper disposal practices to meet environmental regulations.
For larger projects with ongoing waste, you might want to consider whether a dumpster rental would better suit your needs.
Step 3: Rent a Dumpster for Large Renovation Projects
When tackling big renovation projects like a full home remodel or a kitchen overhaul, renting a dumpster can be a game-changer. It gives you a dedicated space to toss debris as you go, saving you from scheduling multiple pickups. This setup is especially handy for projects that stretch over weeks and produce a steady stream of waste.
Choosing the Right Dumpster Size
Picking the right dumpster size is essential to keep things running smoothly. For smaller-scale jobs, a compact container might do the trick. But for bigger renovations, you'll likely need a larger dumpster to avoid the hassle of extra pickups. If you're unsure, it's usually smarter to go slightly bigger - this can save you from the cost and inconvenience of needing a second rental later.
Key Considerations for Dumpster Rentals
Before renting, there are a few details to iron out:
- Weight Limits: Check the dumpster's weight allowance to avoid overage fees.
- Permits: If you plan to place the dumpster on public property, make sure you secure any necessary permits ahead of time.
- Rental Period: Choose a rental duration that aligns with your project timeline. Extensions are often available if needed.
- Access for Delivery: Clear the area where the dumpster will be placed. Remove any low-hanging branches or obstacles that might block the delivery truck.
Also, review the rental service's list of restricted items. Many companies won't accept hazardous materials or certain oversized items, and violating these rules could lead to extra charges or a refused pickup.
For large-scale projects, dumpster rental is often a practical and budget-friendly solution. If a dumpster isn't suitable for your needs, check out Step 4: Recycle and Donate Renovation Materials for alternative ways to handle your waste.
sbb-itb-c7714ed
Step 4: Recycle and Donate Renovation Materials
When tackling a renovation, don’t let all that debris head straight to the landfill. Instead, consider recycling materials that qualify and donating items that can be reused. This not only reduces waste but can also save you money on disposal fees.
Identify Recyclable Materials
Plenty of renovation leftovers can be recycled, though what's accepted often depends on where you live. Metal is widely recyclable - items like copper pipes, steel fixtures, aluminum siding, and even old appliances can usually be dropped off at scrap metal yards. Some facilities even pay for certain metals, turning your trash into a little extra cash.
Concrete and masonry from projects like driveways, patios, or foundation work are also recyclable. Construction and demolition (C&D) recycling centers crush these materials so they can be reused in new construction. Drywall is another recyclable material in many areas, but it needs to be handled carefully and kept separate from other debris.
Wood can be a bit trickier. Clean, untreated lumber is often recyclable or can be repurposed, but painted or treated wood might not be accepted due to potential chemical concerns. Asphalt shingles from roofing jobs are increasingly accepted at specialized centers, where they’re processed into materials used for roadwork.
To figure out what’s recyclable near you, reach out to your local waste management authority or search online for "construction debris recycling" along with your city name. Keep in mind that most facilities require materials to be clean and sorted, so plan ahead during your renovation.
Donate Reusable Items
Donating usable renovation materials helps local organizations and keeps items out of the landfill. Habitat for Humanity ReStore locations are a great option - they accept cabinets, appliances, doors, windows, lighting fixtures, and building materials. Proceeds from the sale of these items go toward Habitat’s housing programs, and your donation may even be tax-deductible.
Local churches, community centers, and vocational schools are also good places to donate. They often use building materials for their own projects or training programs. Theater groups, for example, frequently need doors, windows, and fixtures for stage sets. Before donating, make sure everything is in good condition - most organizations can’t take broken or heavily damaged items.
For more specialized or high-quality materials, check with architectural salvage companies in your area. These businesses often look for items like hardwood flooring, vintage fixtures, or solid wood doors. While they tend to be selective, they’re a great option for unique pieces.
When donating, it’s a good idea to schedule pickups ahead of time, as many organizations have limited capacity for handling large items. Take photos of your donations before they’re removed - this can be helpful for tax documentation.
For smaller quantities of materials, recycling and donation work well. For larger volumes, you’ll want to explore municipal bulk pickup services, which we’ll cover in Step 5.
Step 5: Schedule Municipal Bulk Pickup Services
Many U.S. cities and counties provide bulk pickup services for homeowners looking to dispose of moderate renovation debris. These services are specifically designed for homeowner-generated waste, while contractor debris typically requires private disposal methods.
Requirements and Guidelines
If other disposal options don't align with your schedule or the volume of debris, municipal bulk pickup can be a convenient choice. These services generally accept materials like appliances, furniture, wood scraps, and metal fixtures, but they typically exclude hazardous items such as paints, chemicals, and certain types of glass. Glass, in particular, may need special handling or might have to be dropped off at designated locations.
Because weight and size restrictions vary depending on the municipality, it’s essential to review your local waste management guidelines. Before scheduling a pickup, check with your local waste management department or visit their website to confirm what materials are accepted, any size or weight limits, and the required preparation steps.
Prepare for Bulk Pickup
Proper preparation and timing are key to ensuring a smooth pickup process. Place your items at the curb according to your local schedule to avoid any delays.
Be sure to sort your debris as per local guidelines. Many cities request that different types of materials be separated to make collection more efficient. Additionally, keep driveways and walkways clear to help crews access the items easily.
Planning ahead is crucial. If your local municipal schedule or limits don’t meet your needs, consider a flexible alternative like WasteMatch to handle your bulk disposal.
Conclusion: Your Next Steps for Renovation Debris Removal
When it comes to managing renovation debris without a truck, you’ve got several practical options. Whether it’s scheduling a WasteMatch pickup, renting a dumpster, or using municipal services, the key is finding the method that best suits your project.
Start by reviewing your waste assessment to determine the best fit for your needs. For projects with mixed materials and moderate waste, professional junk removal services like WasteMatch offer the convenience of clear pricing and flexible scheduling. Plus, there's no need to worry about permits or container size limits. For larger-scale renovations with significant debris, a dumpster rental might be the better choice. Just be sure to check local permit requirements and consider clean loading to make recycling easier.
Once you’ve settled on a disposal method, think about incorporating eco-friendly practices. Recycling materials such as metal, wood, and certain fixtures can significantly reduce landfill waste while promoting responsible waste management. Donating reusable items is another great way to support your community and extend the life of valuable resources.
It’s also important to ensure that your chosen provider follows all local disposal regulations, especially for items like hazardous materials, wet paint, or propane tanks, which require special handling.
Ready to take the next step? If you’re looking for the easiest option with no surprises, schedule a WasteMatch pickup to connect with reliable local haulers who will handle everything from removal to proper disposal. For moderate debris and flexible timelines, municipal bulk pickup can be a budget-friendly solution. Whatever method you choose, the most important step is to act now - clear your space efficiently and responsibly.
FAQs
What are the advantages of using WasteMatch for managing renovation debris instead of doing it yourself?
Using WasteMatch to manage renovation debris offers several clear benefits compared to tackling it yourself. First, it streamlines the entire removal process, saving you valuable time and effort during what’s often a hectic project. Plus, WasteMatch ensures that materials are recycled or disposed of responsibly, keeping you aligned with local waste regulations and reducing your project’s overall environmental footprint.
Another big advantage is safety. Professional removal reduces your risk of handling sharp or potentially hazardous materials, giving you peace of mind. With WasteMatch, you can stay focused on finishing your renovation while leaving the heavy lifting and disposal tasks to the experts. It’s a safer, easier, and more practical way to deal with debris.
What’s the best way to manage renovation debris without overspending?
The best way to handle renovation debris on a budget depends on a few key factors, such as the type and volume of waste, local disposal fees, and the services available in your area. One practical tip is to separate recyclable materials, as many landfills charge lower fees for items that can be recycled.
For larger projects that produce significant debris, renting a dumpster or arranging a pickup service might be the most practical option. On the other hand, if you’re dealing with smaller amounts of waste, check if your local waste management facility allows drop-offs. Another cost-saving option is donating usable materials to charities or recycling centers, which not only cuts expenses but also benefits your community. Taking the time to explore these options can help you find the most budget-friendly solution for your specific needs.
Do I need any permits or need to follow specific rules when getting rid of renovation debris?
In the United States, disposing of renovation debris often involves adhering to local and state regulations. For instance, some states require permits before beginning renovation or demolition projects to ensure waste is handled correctly. On a federal level, laws like the Resource Conservation and Recovery Act (RCRA) oversee the disposal of hazardous materials, which could be relevant if your debris contains substances like asbestos or lead-based paint.
To stay compliant, it’s a good idea to check with your local government or waste management authority for specific guidelines in your area. These rules can differ significantly and may cover how debris should be stored, transported, or discarded. Staying informed not only helps you avoid potential fines but also promotes safe and responsible waste management throughout your project.


